The GoMax Mortgage Broker CRM provides you with Contact and Mortgage deal “Document Storage”. This is an ideal way to store necessary mortgage documents that are important to the contact and/or their mortgage deal.
To upload a document to the Contact, do the following:
- Click on ‘Contacts’ in the main menu navigation column on the left.
- Using the alphabet strip to locate your contact by last name or perform a search using the various options available.
- Click the ‘View’ button on the left corresponding to their name to open the profile detail screen.
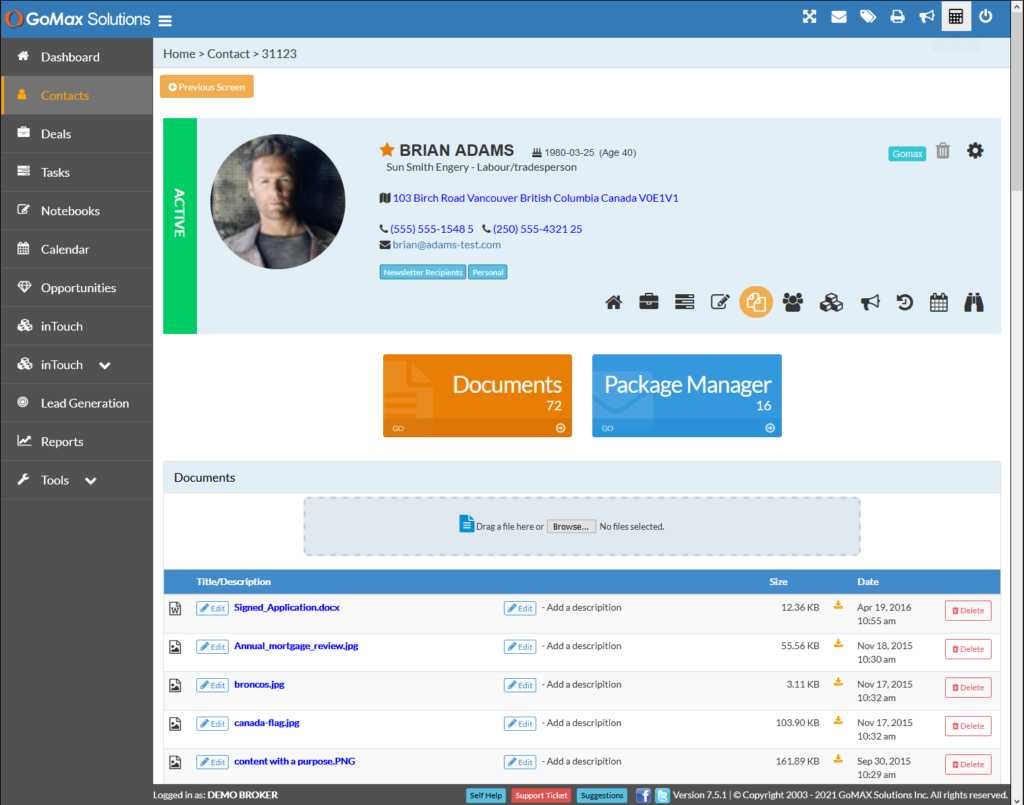
- On the profile detail screen, there are 3 entry points to the Documents component. Either click the icon in the menu strip, the Documents count box, or the + icon within the Documents region towards the bottom of the screen. You will then be taken to a sub-screen for the Documents pertaining to this contact.
- From here you can upload a document to attach to this contact by clicking the Browse button or by simply dragging the document from your computer folder and dropping on top of this Browse box
- If using the ‘Browse’ method, a popup window will appear that allows you to browse your computer for the document. Once you have located the necessary document click ‘Open’ or ‘Upload’.
- After the document has uploaded and appears in the list below, feel free to edit the title and/or description (optional)
- You can Upload as many documents as you need to.
- Please allow 30-60 second per document to upload. (There is an 8mg/document limit)
To upload a document to the contact’s mortgage deal do the following:
- Locate your contacts name in your dashboard to the left.
- Click on their name once so you are redirected away from the dashboard and onto a screen that displays their mortgage file(s), tags and documents
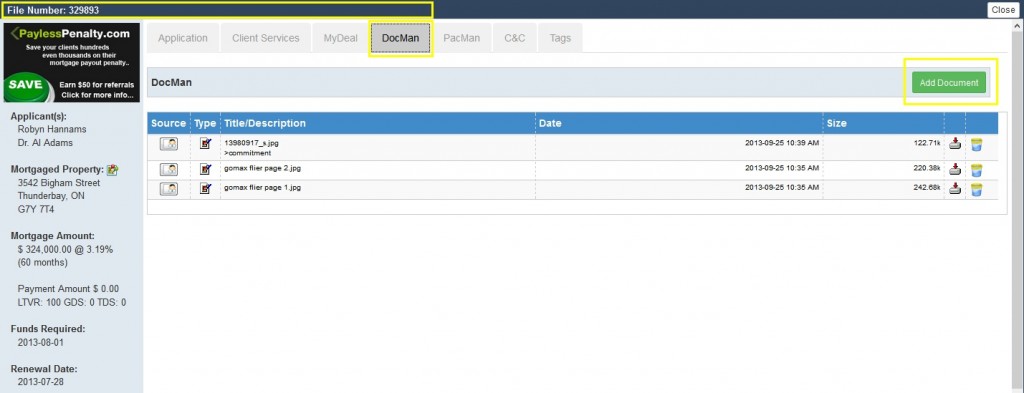
- Select “View File” on the appropriate mortgage file so it loads the mortgage summary tab, file tags, and file documents.
- Go To DocMan and in the upper right corner select the green “Add Documents” button.
- A popup will appear along with a browse button. Select this and browse your computer for the document. Click open.
- Once the location of the document is loaded; feel free to add a title and/or a description (optional). Add as many docs as you need to.
- When you are finished, make sure to “Submit”. Please allow 30-60 second per document to upload. (There is an 8mg/document limit)
- Close the upload screen but selecting the X in the top right corner of the popup window.
You can also add documents automatically to your DocMan tab by tagging emails to the clients mortgage file that include attachments. Any attachment in a Tagged email will be automatically added to the corresponding document storage tab.